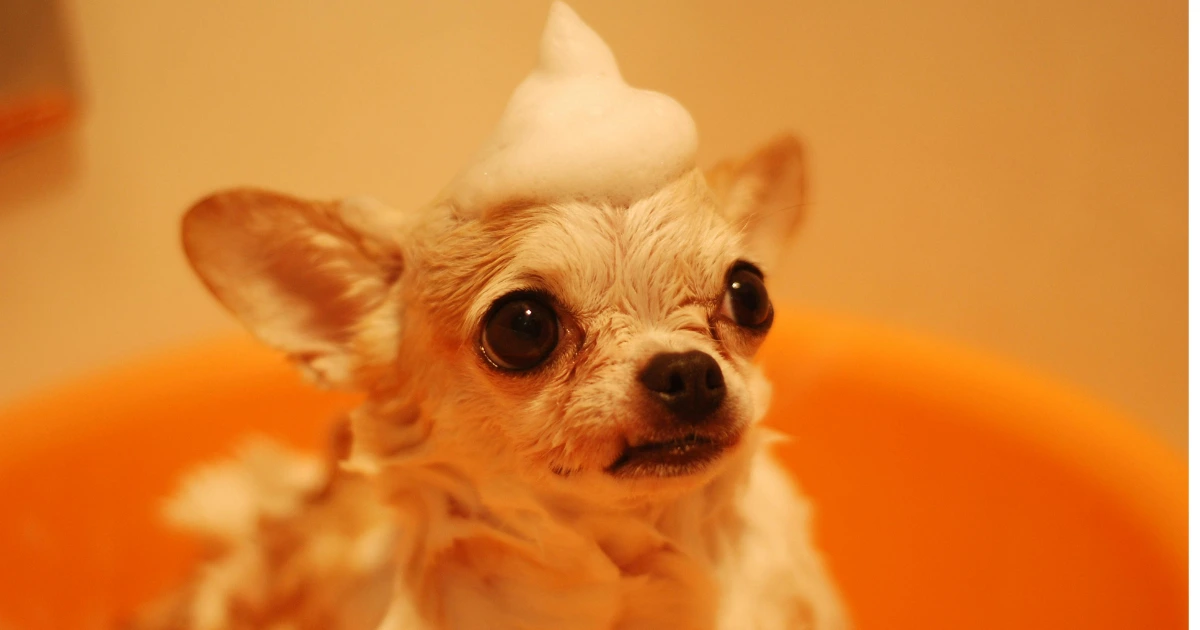
How to Make Homemade Dog Shampoo That Actually Works
Table of Contents
I’ll be honest — I first made homemade dog shampoo out of pure desperation. My golden retriever Max had rolled in something disgusting during a camping trip, and the nearest pet store was 40 miles away. What started as an emergency fix quickly became my preferred way to keep all three of my dogs clean and comfortable.
After years of buying commercial products, I realized that making your own dog shampoo isn’t just cheaper — it’s often gentler. You know exactly what’s going on your dog’s skin, and most of the ingredients are probably already in your kitchen.
🚫 Why Human Shampoo Is a No-Go for Dogs
Before switching to a DIY option, many owners make the mistake of using human shampoo on their dogs.
Human skin has a pH of about 5.5, while dogs sit closer to neutral, around 6.2–7.4. That difference matters. Using products designed for humans can lead to dryness, irritation, and itching. A properly balanced homemade dog shampoo respects your dog’s natural skin barrier and helps prevent these problems.
🧼 My Go-To Basic Recipe (Works Every Time)
This simple recipe is what I use for regular baths and forms the base of my homemade dog shampoo routine.
Ingredients:
- 2 cups warm water
- ¼ cup gentle dish soap
- ½ cup white vinegar
The soap removes dirt and grease, while vinegar neutralizes odors and leaves the coat shiny. When rinsed thoroughly, this mixture works well for most dogs.
🌿 Shampoo Options for Dogs with Sensitive Skin
Some dogs need extra care, especially those prone to itching or dryness.
💧 Moisturizing Formula
This gentle blend helps soothe irritated skin:
- Water
- White or apple cider vinegar
- Glycerin
- Gentle baby shampoo
- Aloe vera gel
The glycerin helps lock in moisture, while aloe calms irritation.
🌾 Oatmeal-Based Dog Wash
Oatmeal is excellent for itchy or inflamed skin and works well as a natural alternative to store-bought products.
- Finely ground plain oatmeal
- Baking soda
- Warm water
Apply to wet fur, let it sit briefly, then rinse thoroughly to avoid residue.
🦟 Dealing with Fleas Naturally
During flea season, I sometimes use a mild homemade dog shampoo before turning to stronger treatments.
- Warm water
- Aloe vera gel
- Castile soap
- Optional: 1–2 drops lavender essential oil
⚠️ Essential oils can be risky for pets. Always consult your vet and skip them if you’re unsure.
🧪 What These Ingredients Actually Do
Each ingredient in a good dog wash has a purpose:
- Vinegar removes odors and adds shine
- Soap lifts dirt and excess oils
- Baking soda helps balance pH and deodorize
This balance is what makes homemade dog shampoo effective without being harsh.
🛁 Bath Time Tips That Make a Difference
Using homemade dog shampoo works best when bath time is handled properly:
- Use lukewarm water
- Prepare everything before starting
- Stay calm and reassuring
- Rinse longer than you think is necessary
💰 Is Making Dog Shampoo at Home Really Cheaper?
Yes. A store-bought dog shampoo can cost $15–20 and last only a few washes. A batch of homemade dog shampoo costs just a couple of dollars and lasts just as long — sometimes longer.
❓ Frequently Asked Questions About Dog Shampoo
Is homemade dog shampoo safe for all dogs?
Yes, when made correctly. A balanced homemade dog shampoo avoids harsh chemicals and artificial fragrances that may irritate sensitive skin.
How often should I bathe my dog?
Most dogs do well with a bath every 3–4 weeks, depending on activity level and coat type.
What if my dog reacts badly?
Stop using the product, rinse thoroughly with plain water, and simplify the recipe or consult your vet.
🏁 Conclusion
Switching to homemade dog shampoo started as a last-minute fix for me, but it’s become a long-term upgrade. It’s affordable, customizable, and gentler than many commercial options.
Start simple, observe how your dog responds, and adjust as needed. Clean dogs, healthier skin, and fewer mystery ingredients — that’s a win.
You might also like these articles: